Quick Facts
- Portion Rule: Aim for 2-3oz of meat and cheese per person for appetizers, or 4-8oz if serving as a main meal.
- Safety Window: Perishable items should remain at room temperature for a maximum of 2 hours, or 90 minutes in environments above 90°F.
- Golden Ratio: Follow the Rule of Threes—select 3 artisanal cheeses, 3 cured meats, and 3 distinct accompaniments.
- Serving Temp: Always temper your cheese by taking it out of the fridge 20 to 30 minutes before guests arrive.
- Structural Anchor: Start your assembly by placing ramekins for jams or olives first to create a visual and physical framework.
- Texture Hack: Keep vegetables in an ice bath until the last moment and place crackers on the board just before serving to ensure maximum crunch.
To achieve a professional charcuterie board, serve artisanal cheeses and cured meats at room temperature while utilizing a layering sequence that starts with ramekins for liquids and ends with delicate garnishes. These essential charcuterie board tips ensure that your presentation is not only visually stunning but also maintains the highest standards of flavor and food safety. By following a structured charcuterie serving temperature guide and choosing high-quality artisanal cheeses, you can transform a simple snack into a sophisticated culinary experience that caters to every palate.
1. Master the Math: The Rule of Threes and Portions
Entertaining often brings a touch of hosting anxiety, especially when trying to guess how much food is enough without overspending. Understanding the quantitative side of the "graze" is the first step toward professional styling. Recent data suggests that more than 25% of consumers now create charcuterie boards at home at least once per month, signaling a shift from occasional treats to a regular hosting staple. To keep your planning stress-free, I always recommend the Rule of Threes. This means selecting three distinct varieties for each major category: three cheeses (one hard, one soft, one blue or funky), three cured meats (different shapes and spice levels), and three types of antipasti like olives, cornichons, or roasted peppers.
Beyond variety, you need to calculate volume. For a standard cocktail hour, plan for about 2 to 3 ounces of protein per person. However, approximately 31% of consumers are now serving these boards as a no-cook dinner option. If you are replacing a meal, double those portions to 4 to 8 ounces per guest. If you are looking for budget friendly charcuterie board tips, you don't need every item to be a luxury import. Choose one "star" cheese—perhaps a cave-aged Gruyère or a Truffle Pecorino—and supplement the rest of the board with high-quality bulk-buy options like sharp cheddar or creamy Havarti. This approach maintains visual balance and satisfying flavor without breaking the bank.
2. Temperature Secrets: The Pro Texture Hack
As a nutrition editor, I frequently remind readers that flavor is deeply tied to temperature. Cold suppresses the delicate aromatic compounds in artisanal cheeses and cured meats. If you serve a Brie straight from the refrigerator, it will feel rubbery and taste muted. Following a proper charcuterie serving temperature guide is the secret to that "melt-in-your-mouth" texture guests rave about. Aim to remove your cheeses from refrigeration about 20 to 30 minutes before serving. This allows the fats to soften, releasing the complex nutty or floral notes inherent in high-quality dairy.
While the proteins need to warm up, your produce needs the opposite treatment to maintain its integrity. Nothing ruins a professional look faster than limp carrot sticks or soft cucumbers. Use the "ice bath technique" for any crudités. Submerge sliced vegetables in ice water for 10 minutes before drying them thoroughly and adding them to the board. This creates a powerful texture contrast against the soft cheeses and oily meats. These small sensory details act as palate cleansers between bites, making the entire eating experience feel more intentional and curated.
3. Order of Operations: Structural Assembly
The biggest mistake amateur stylists make is trying to fit crackers and cheese onto the board at the same time. Professional styling requires a specific order of operations to create visual movement. Start with your "anchors." These are your ramekins and small bowls intended for wet items like honey, grain mustard, olives, or jams. Placing these first ensures that liquids won't seep into your dry goods and gives you a "map" for the rest of the arrangement. Once the ramekins are set, place your largest artisanal cheeses in different corners to distribute visual weight across the surface.
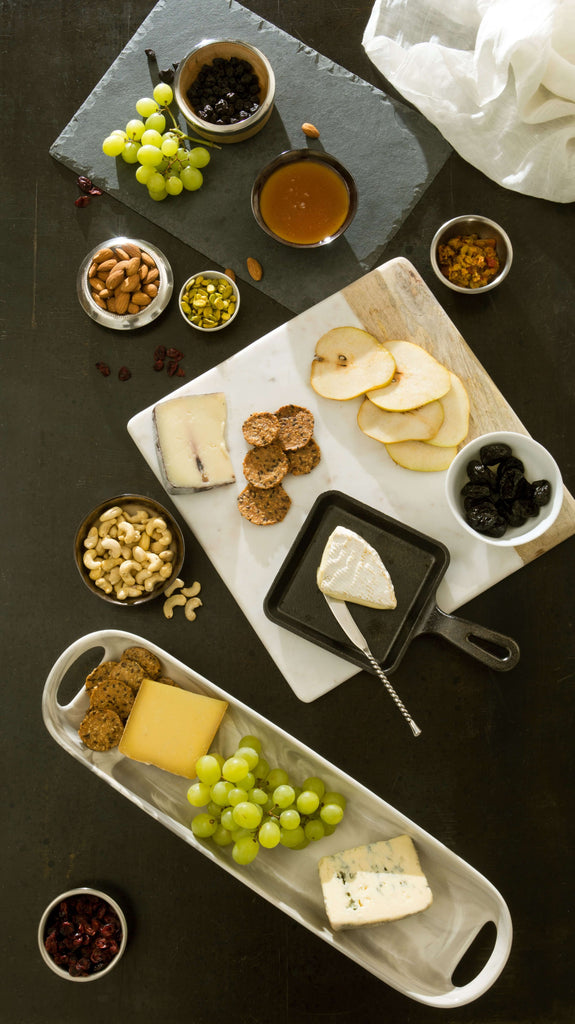
After the anchors are in place, build your "meat rivers." Instead of laying cured meats flat, drape them or stack them in a way that leads the eye from one corner of the board to the other. Fill the remaining large gaps with your secondary items like bunches of grapes or sliced apples. This method ensures visual balance by preventing "clumping," where all the dark colors or heavy textures end up in one spot. Remember, the goal is a bountiful, organic look that looks like a cornucopia of flavor.
4. Visual Artistry: Meat Folding and Edible Florals
To move your board from "home cook" to "pro stylist," you need to master a few simple manipulation techniques. Knowing how to fold meat for charcuterie boards can completely change the silhouette of your display. For thin, round meats like salami or pepperoni, try the "ribbon fold." Fold the slice in half, then in half again, and nestle them tightly together so they stand upright like ruffles. For larger, paper-thin slices like Prosciutto, don't fold them at all; instead, gently "bunch" them into airy piles that look like ribbons of silk. This adds height and volume, making the board look more expensive and abundant.
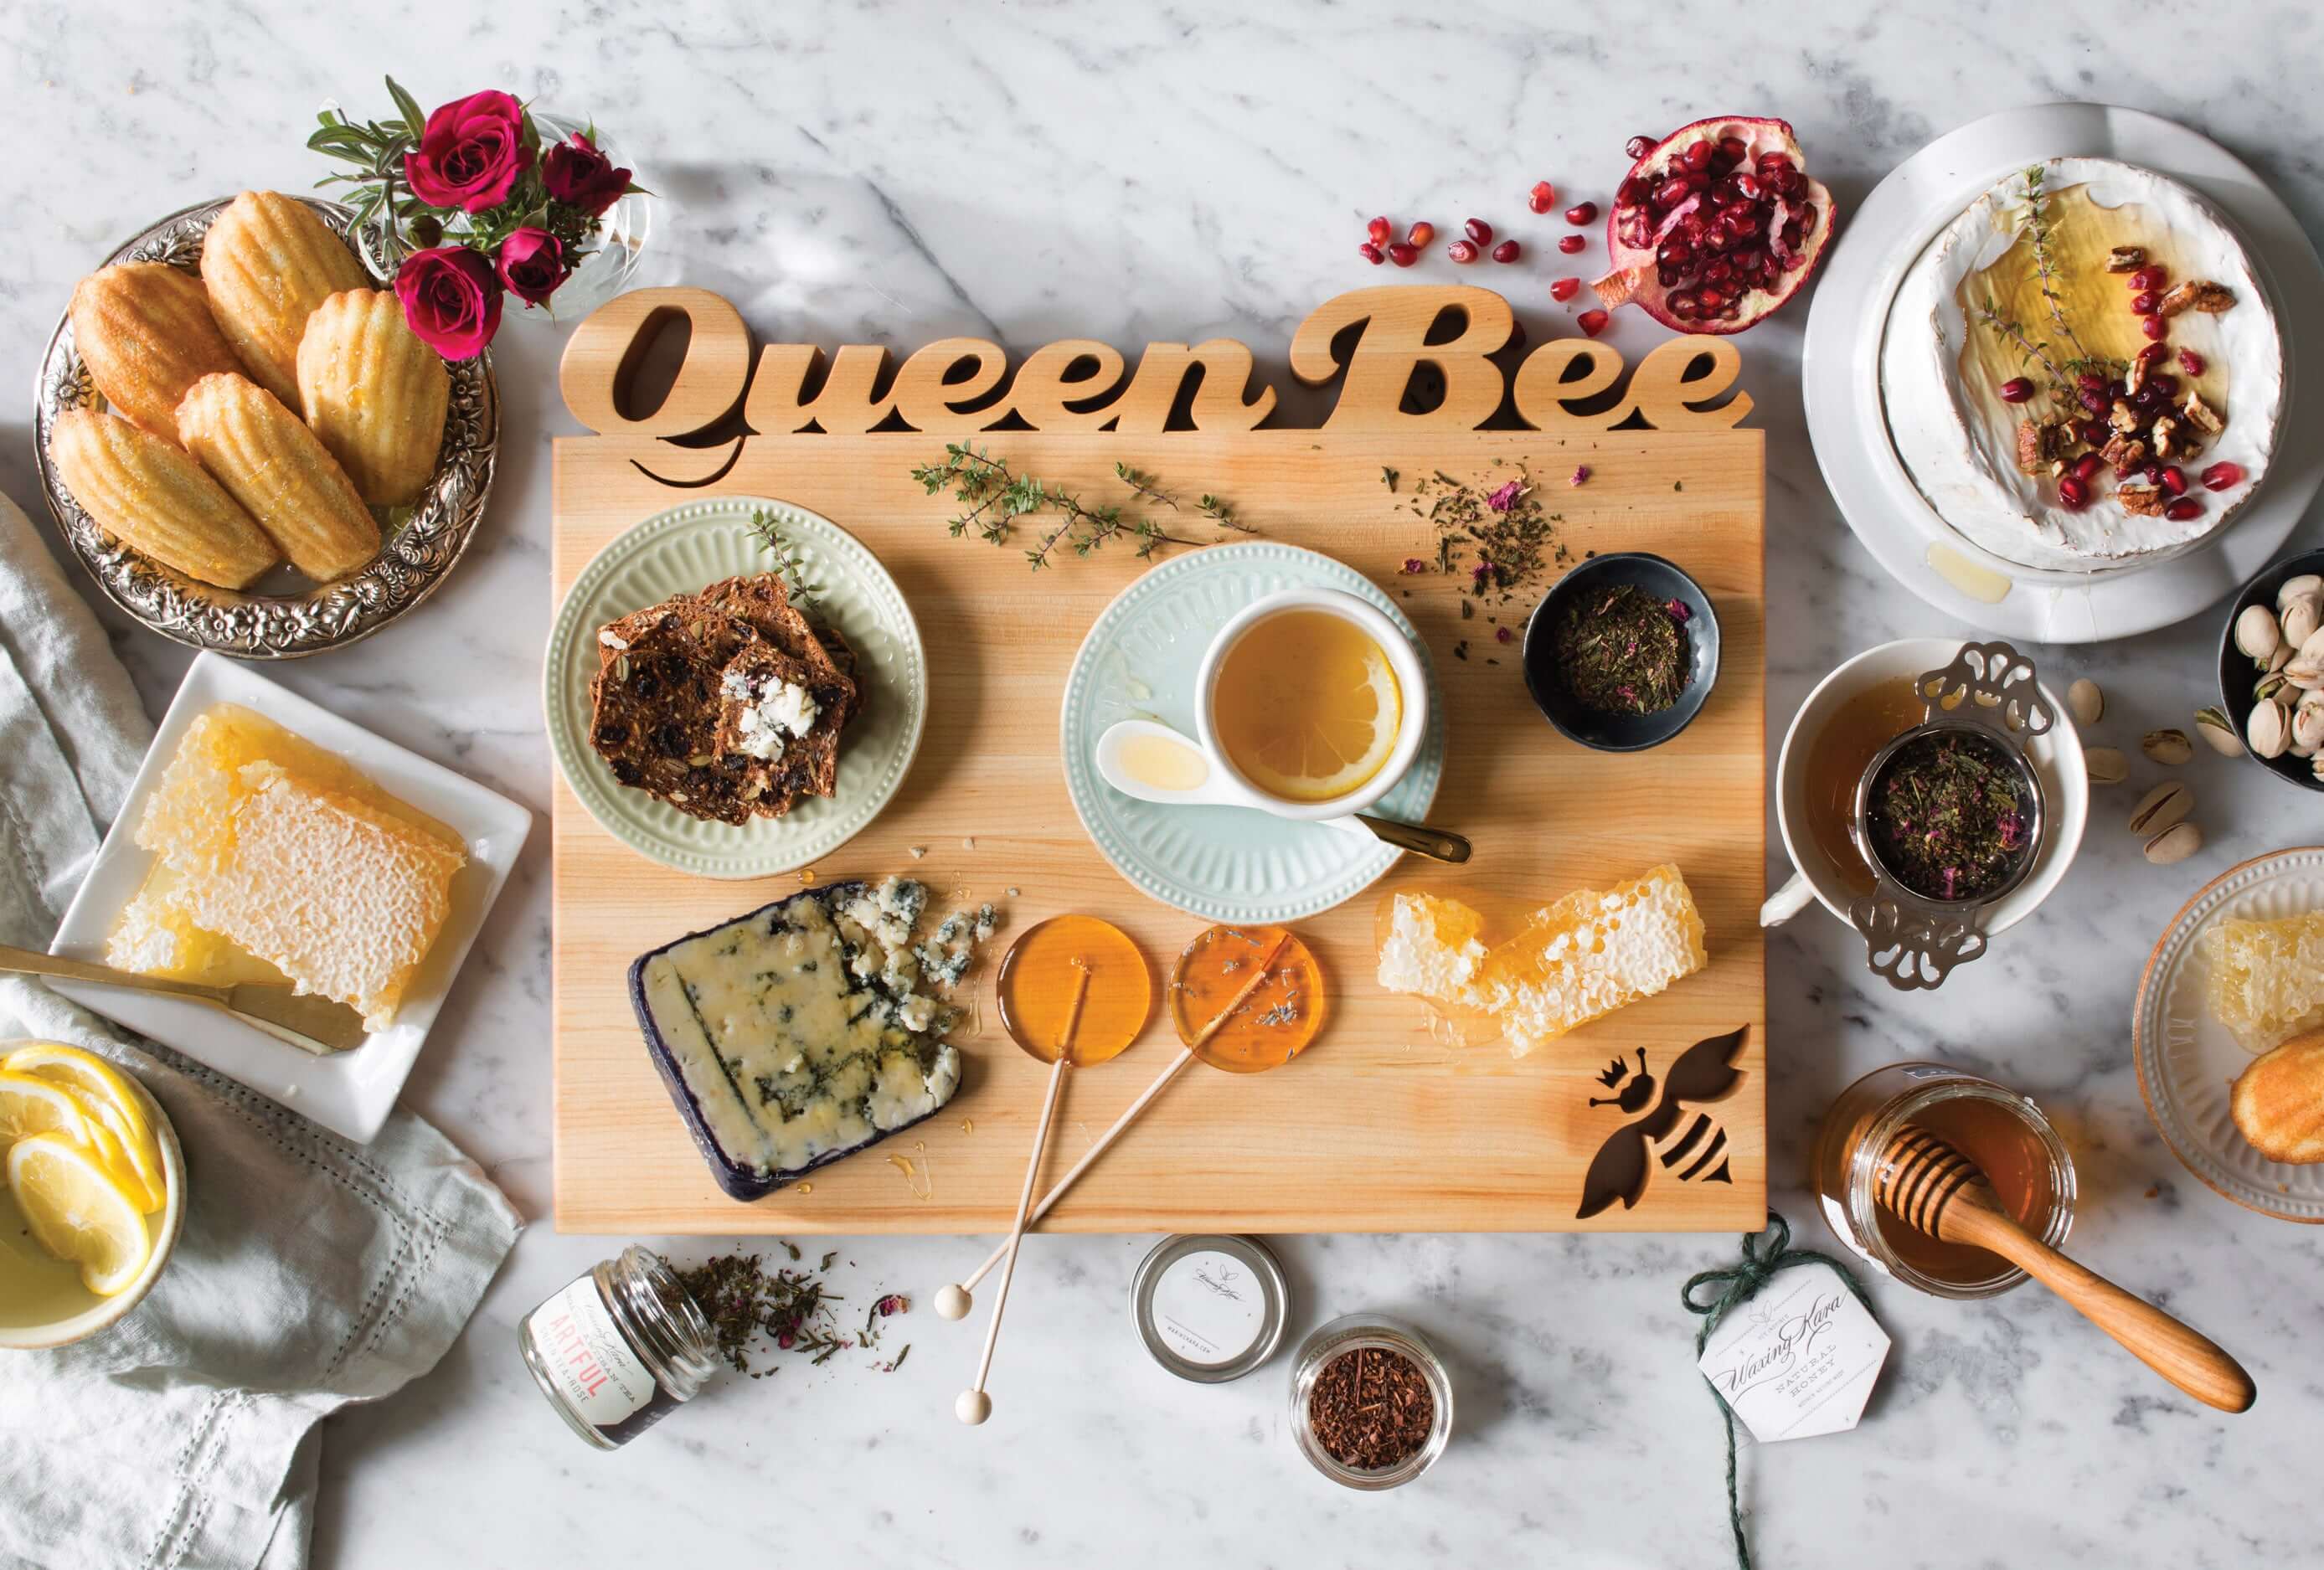
Color is your best friend when it comes to professional styling. Most meats and cheeses live in a color palette of white, beige, and maroon. You need a pop of vibrancy to make the board "Instagram-ready." This is where using edible flowers for charcuterie board decoration becomes a game-changer. Sprinkling a few pansies, nasturtiums, or even fresh sprigs of rosemary and thyme adds an organic, garden-fresh feel. If you prefer a rustic look, use a dark slate or marble board to provide a high-contrast background that makes the colors of the garnish stand out. Choosing edible flowers for charcuterie is an easy way to signal to your guests that this isn't just a snack—it's a piece of edible art.

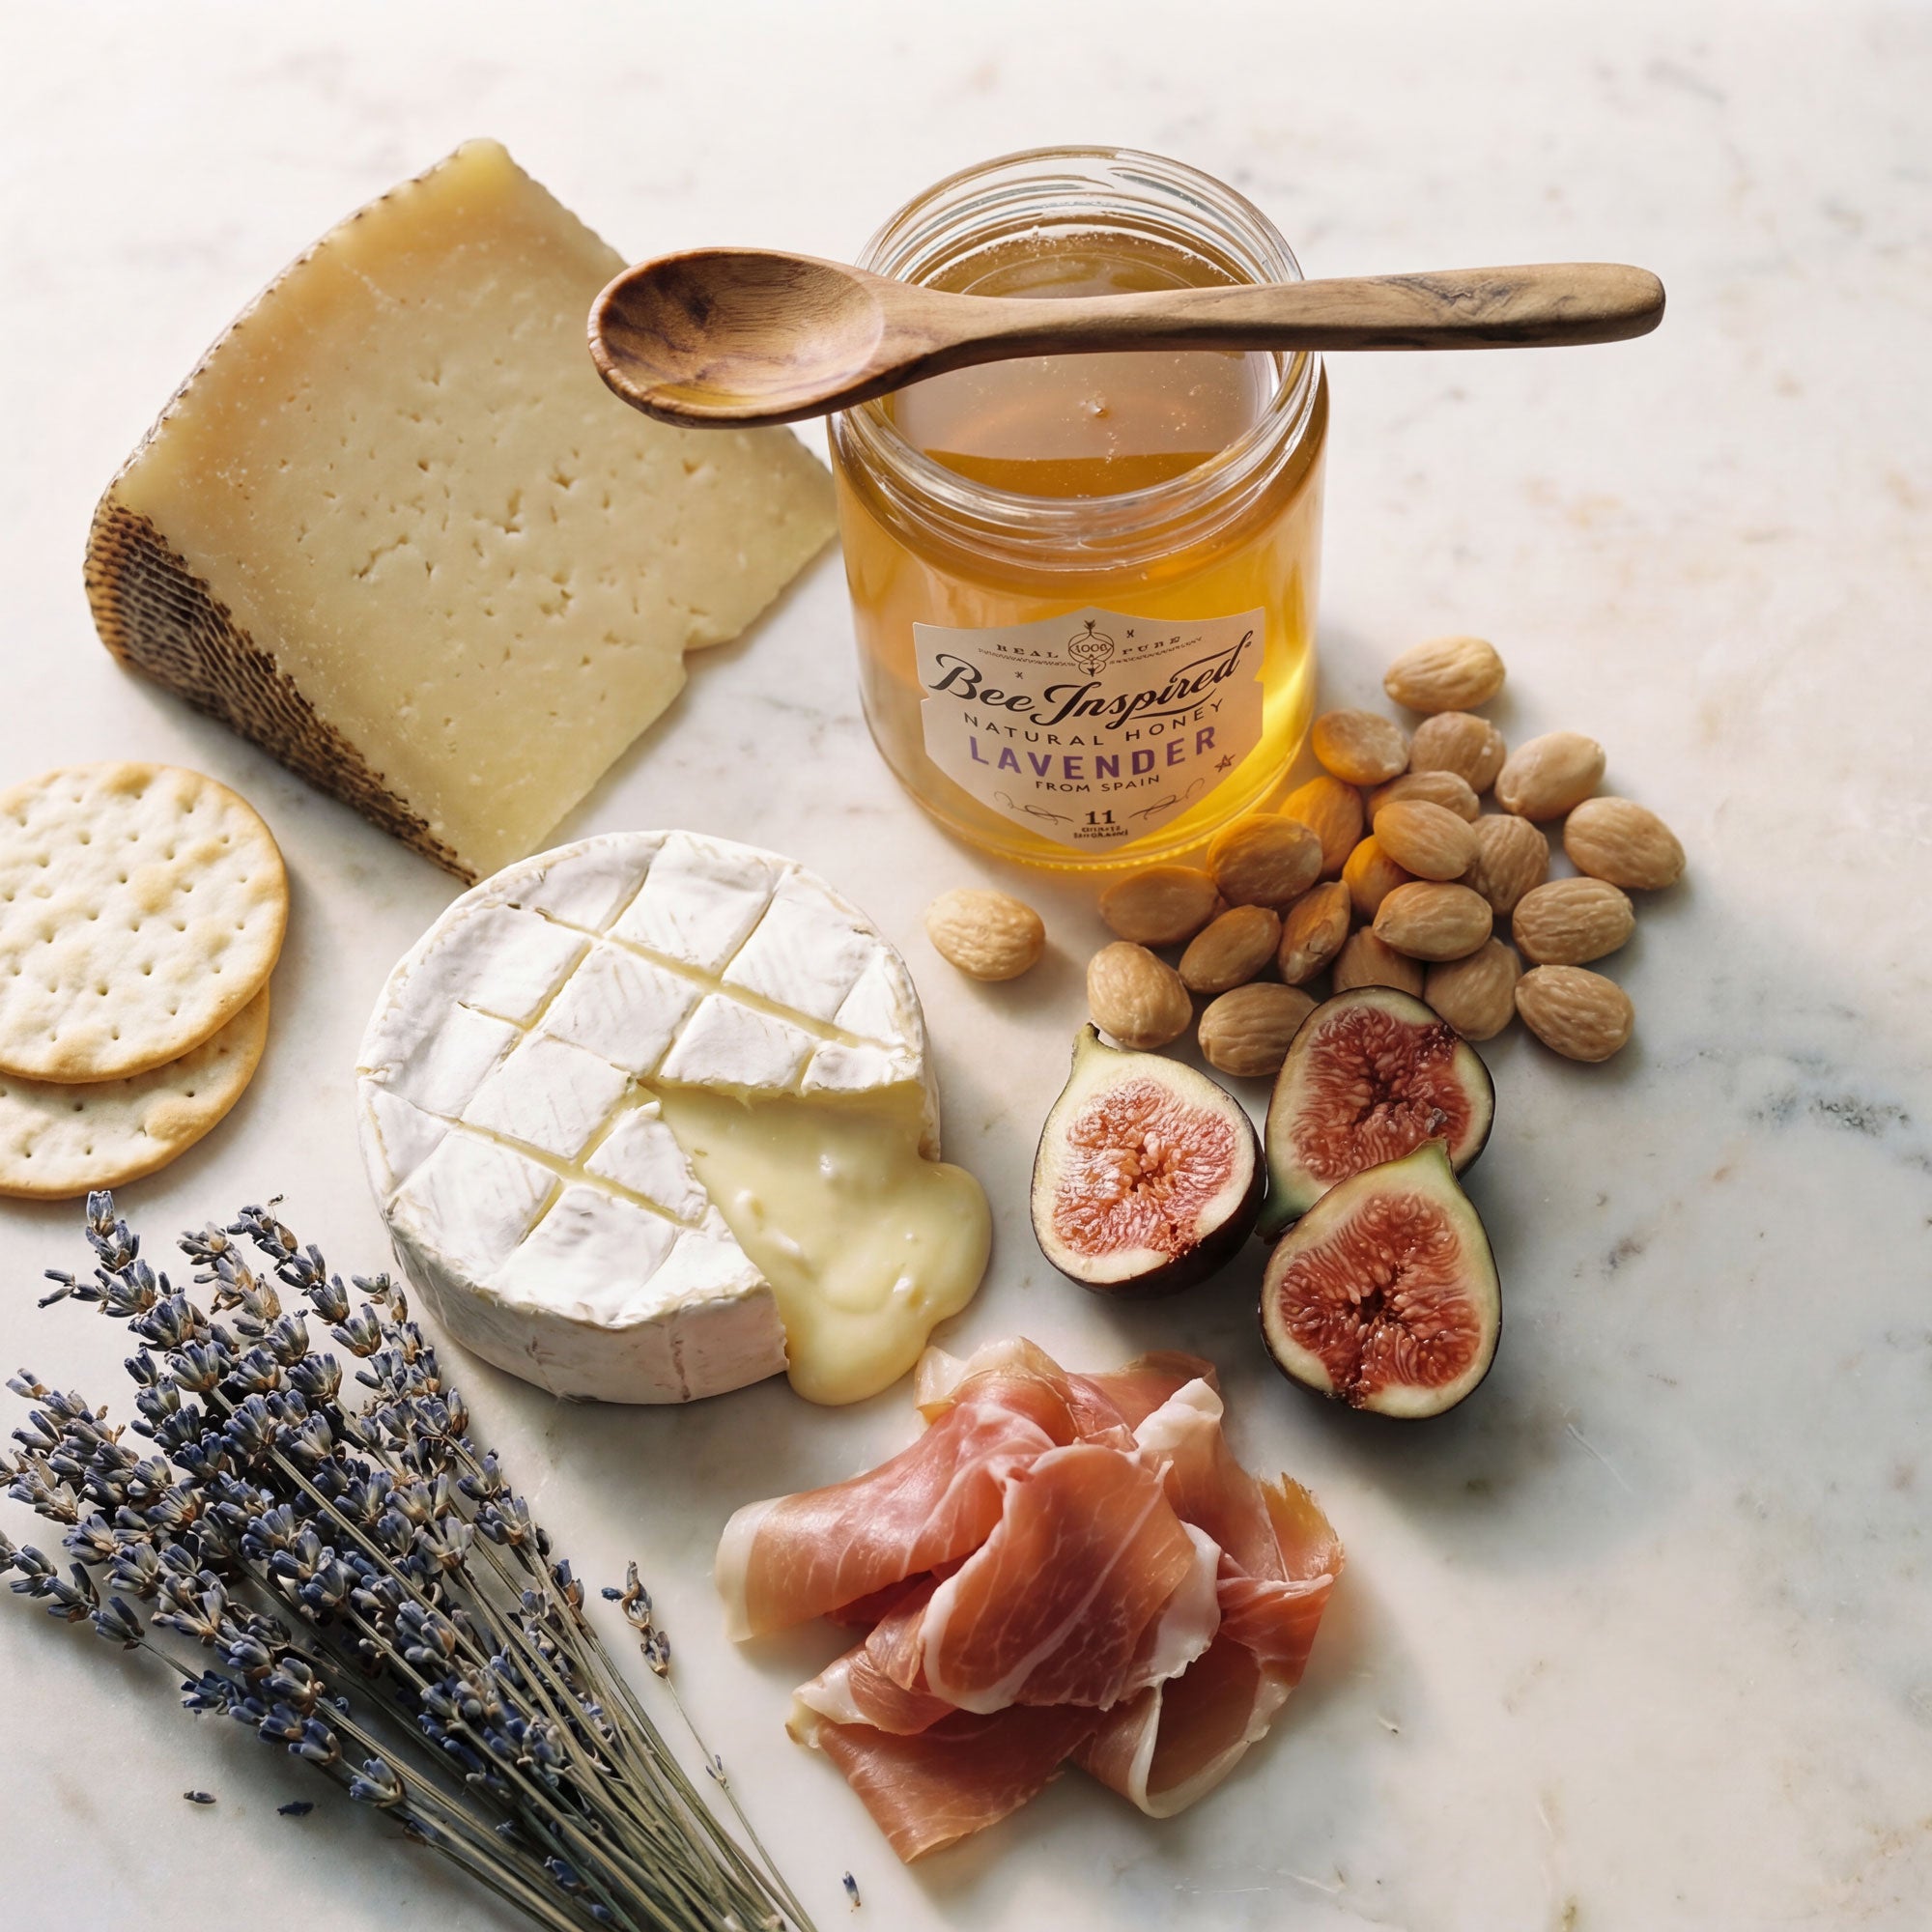
5. The Honey Hierarchy: Elevating Pairings
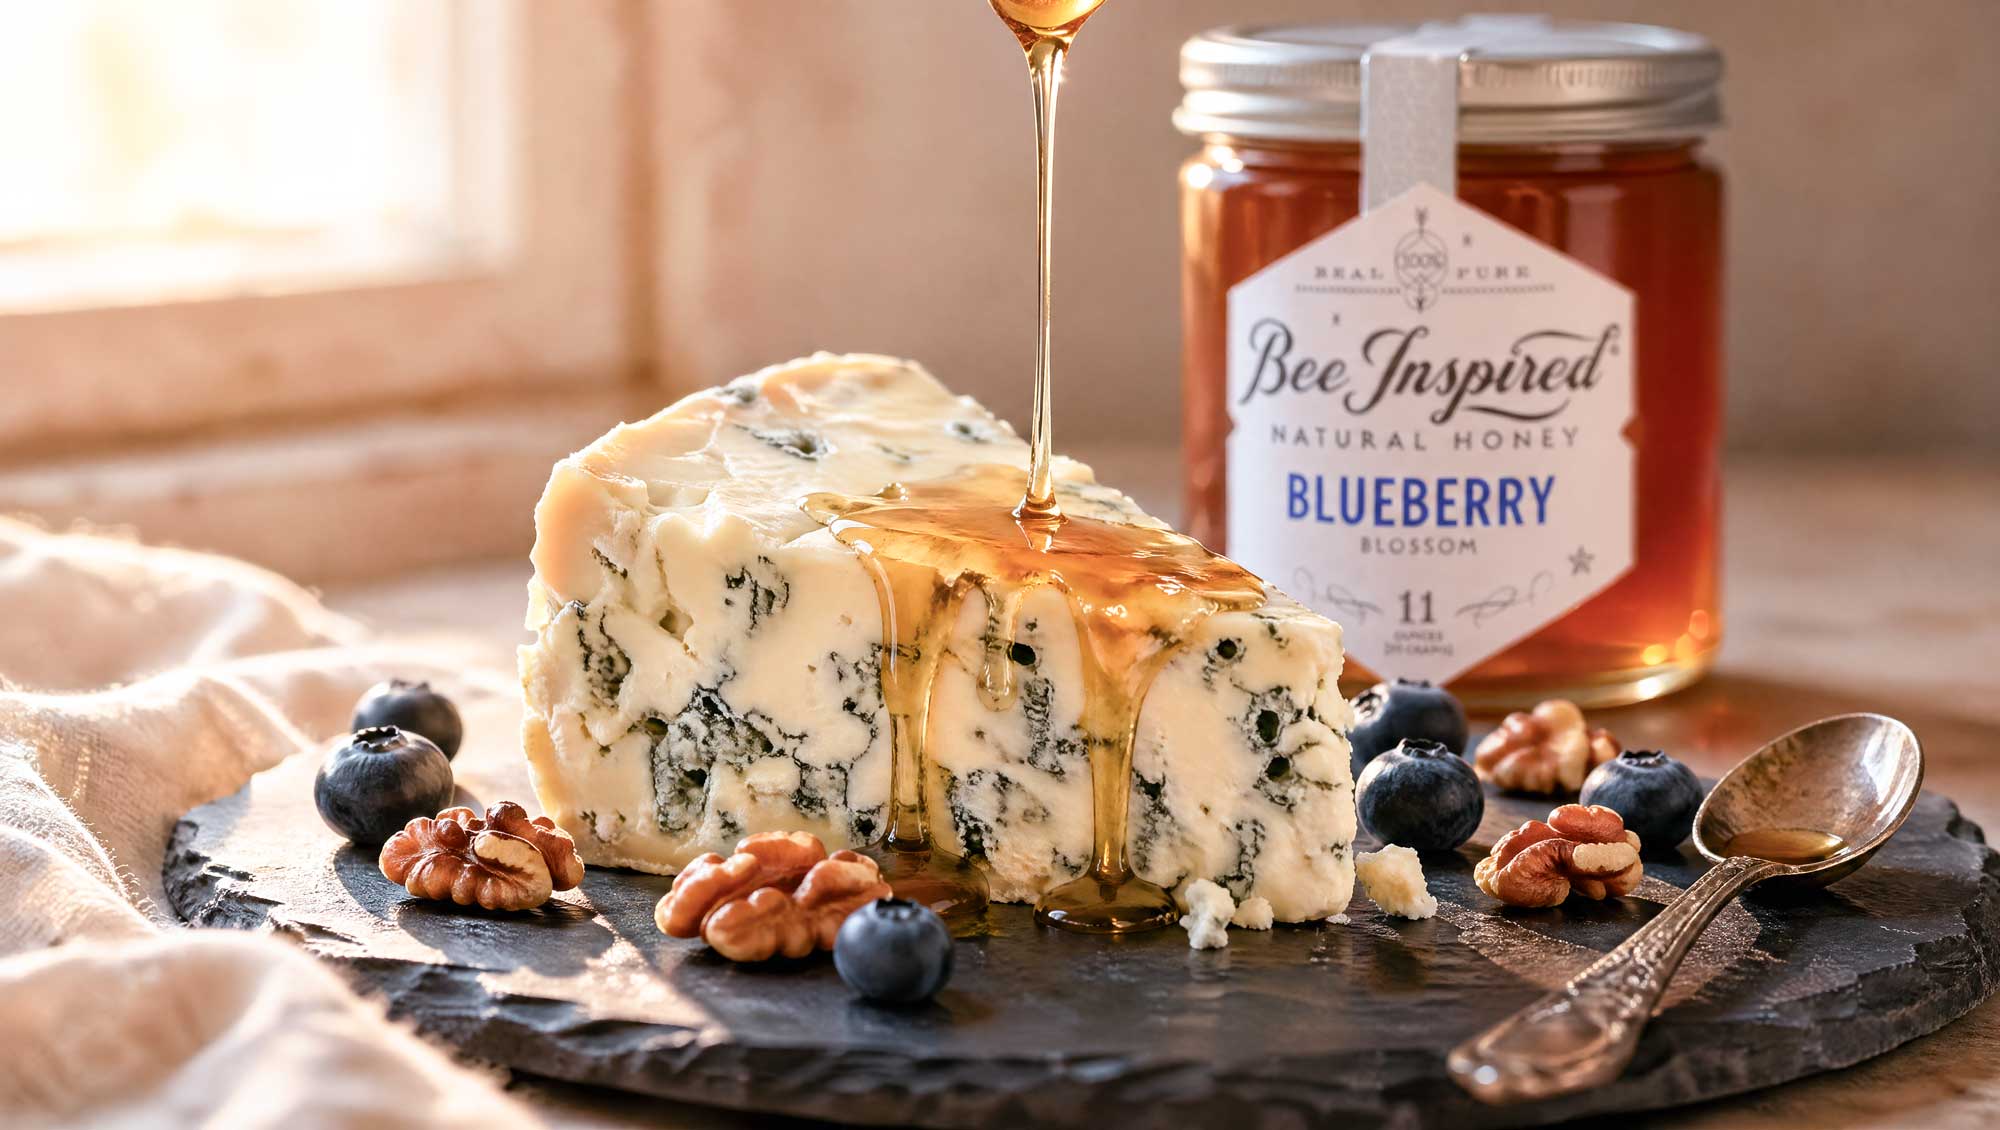
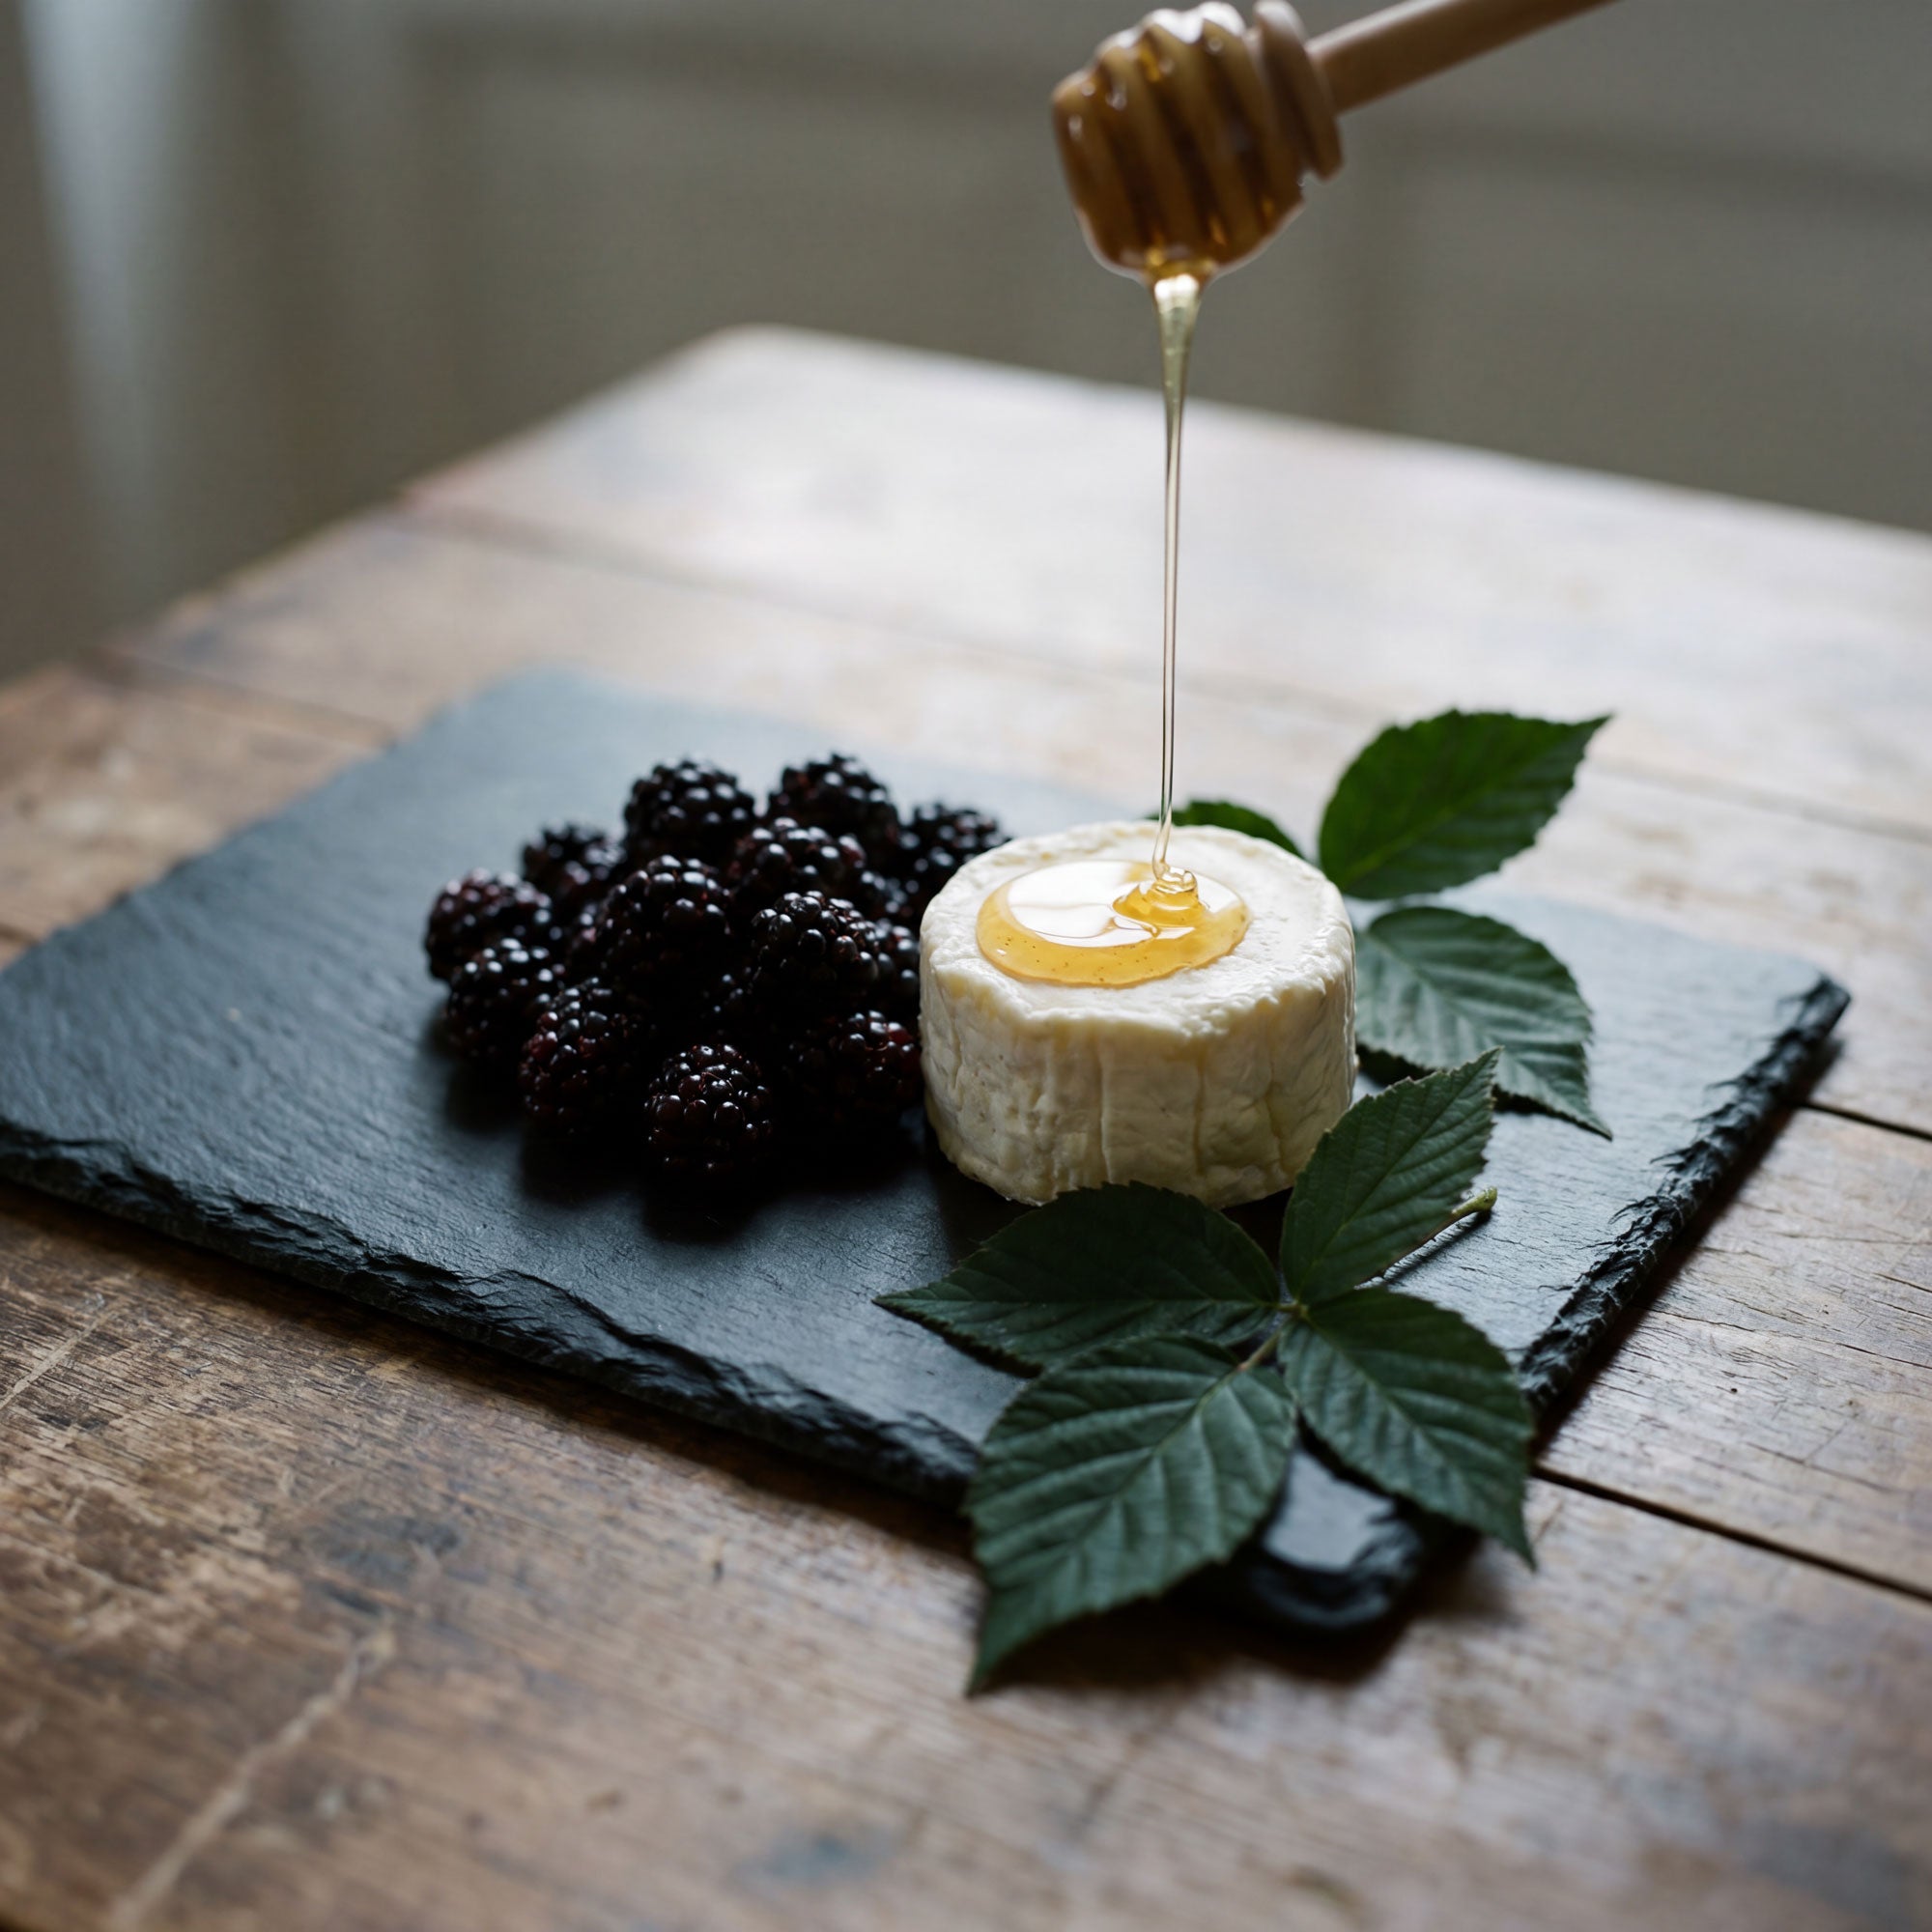
One of the most overlooked elements of a great board is the sweet-and-savory interplay. Honey is a classic accompaniment, but not all honeys are created equal. When planning your honey and cheese pairings, consider the intensity of the flavor. A delicate, floral Clover or Acacia honey is the perfect partner for creamy, mild cheeses like Brie or fresh Goat cheese. In contrast, a robust, earthy Buckwheat honey or a smoky Manuka honey can stand up to the pungency of a Blue cheese or an extra-aged Gorgonzola.
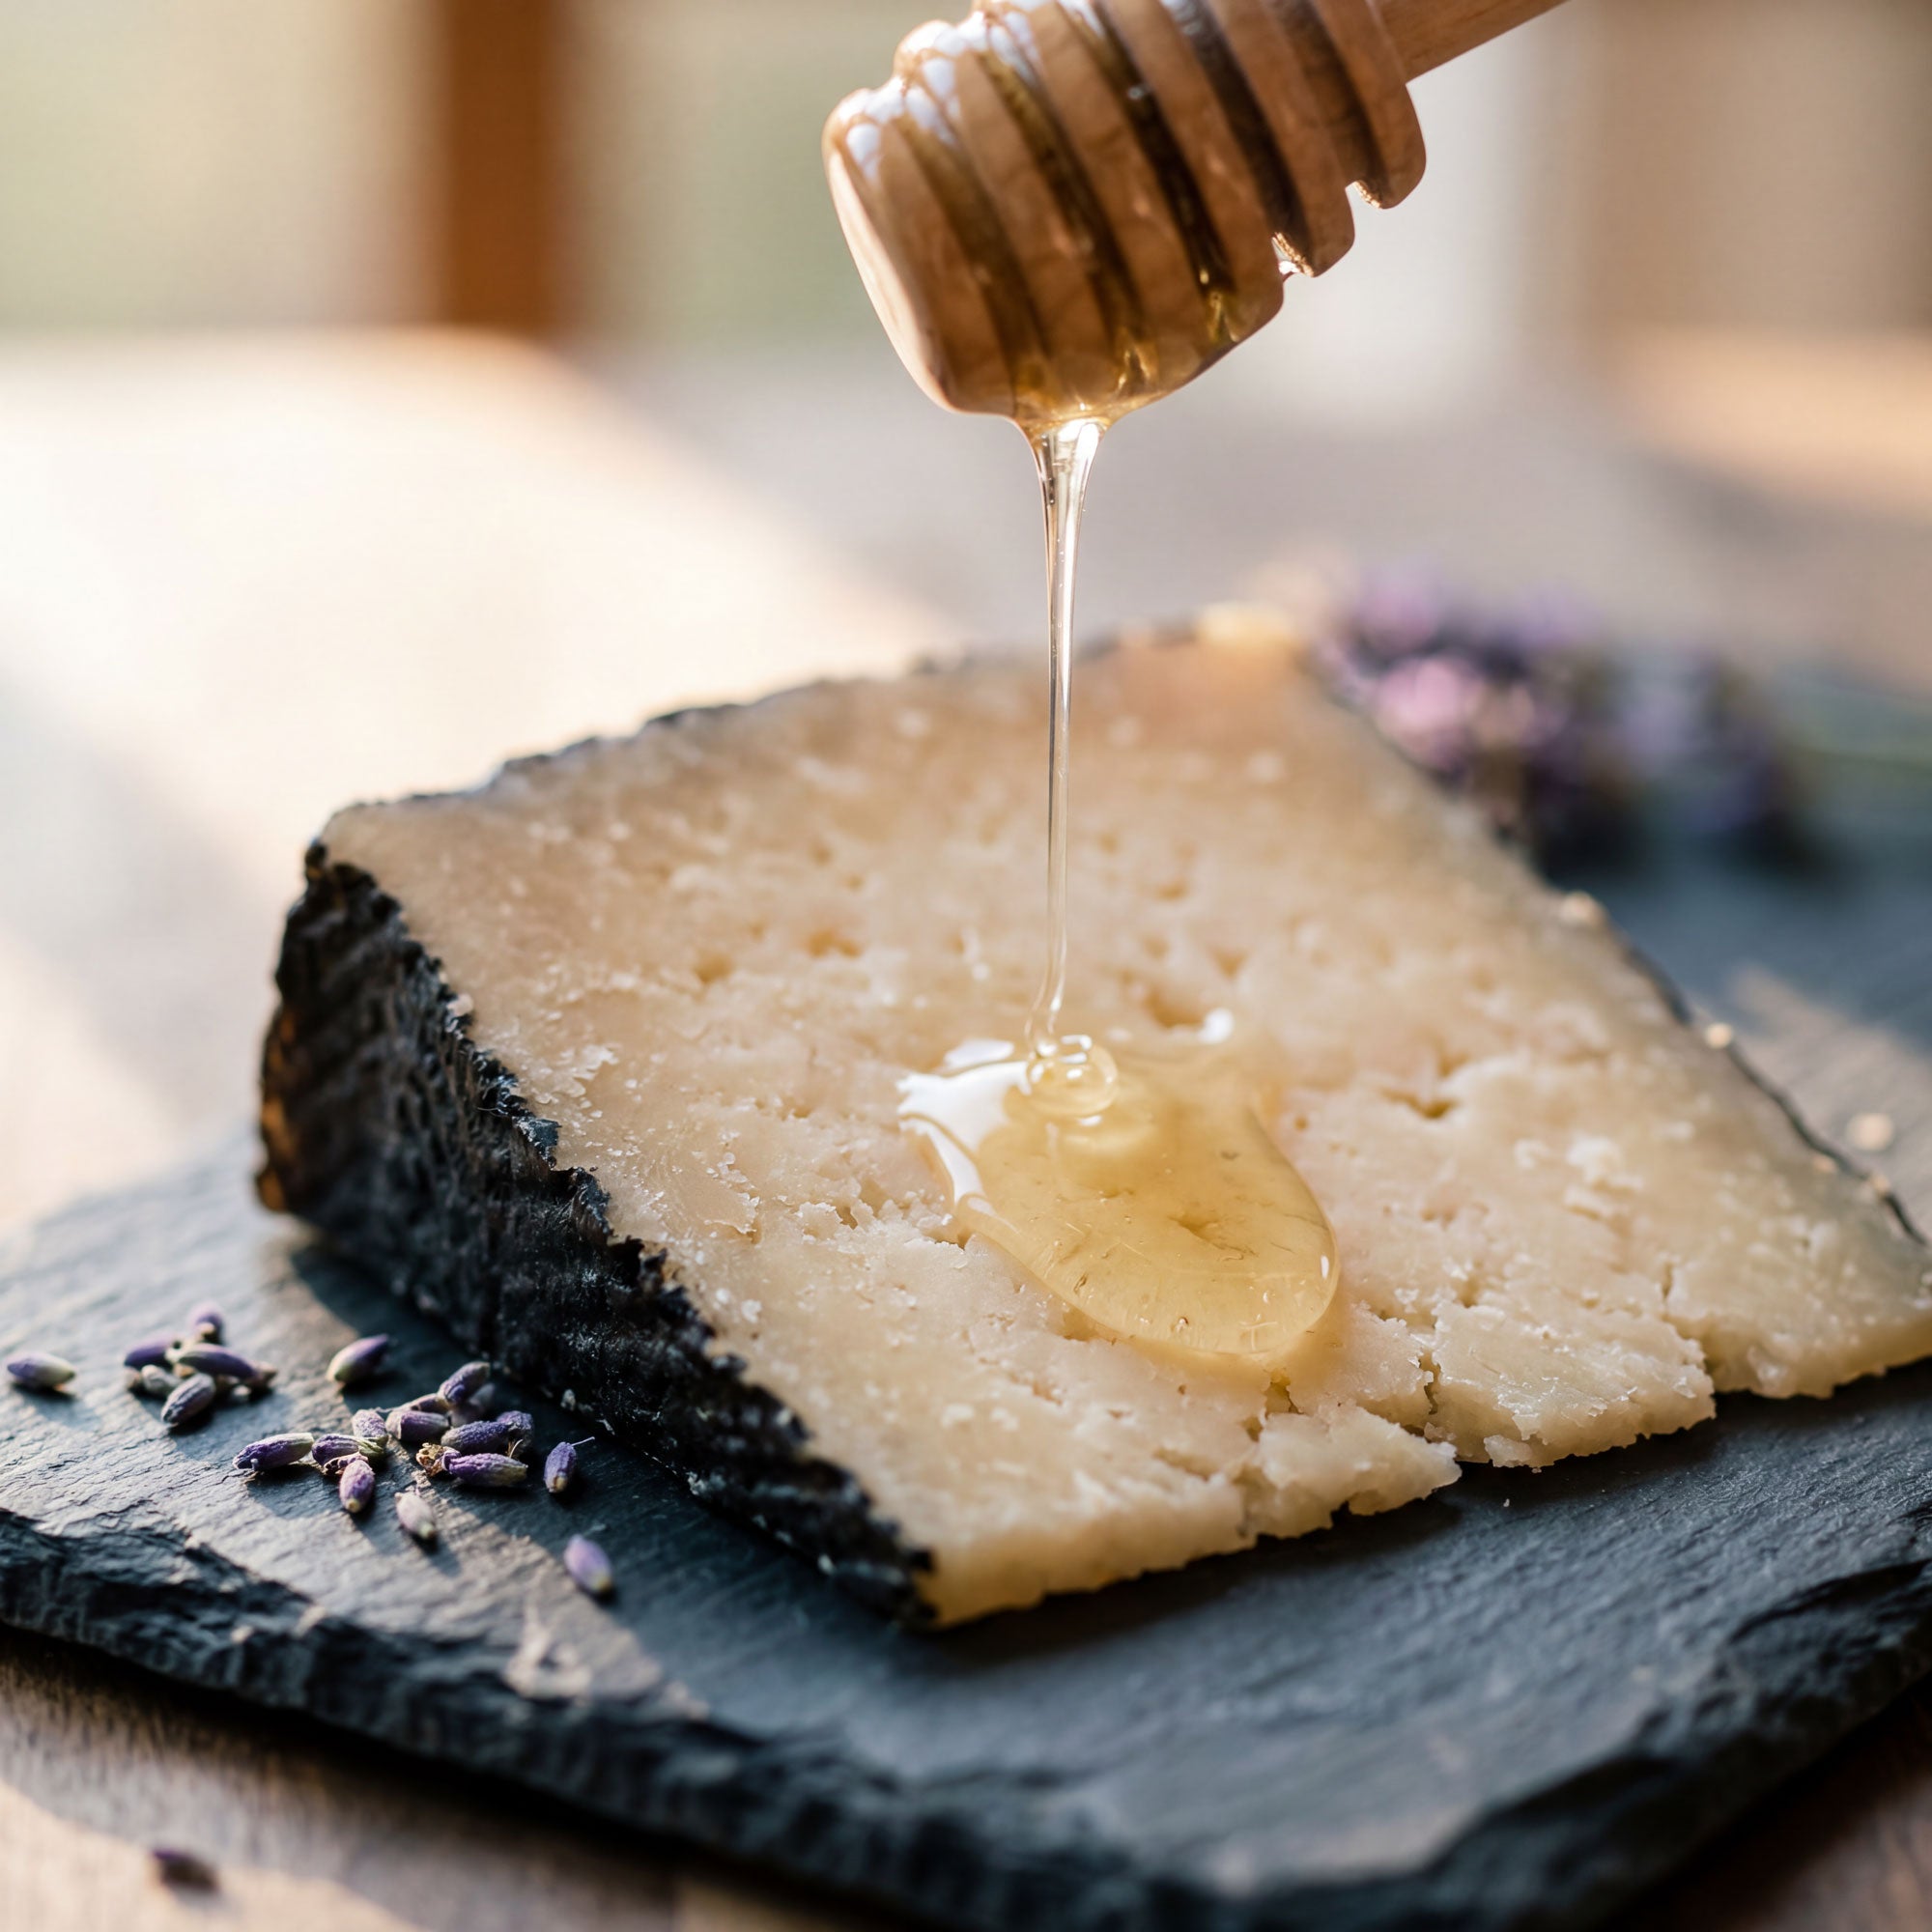
For a truly high-end visual impact, I love using raw honeycomb. It provides a unique texture contrast and looks stunning when placed directly on a wedge of hard cheese like Manchego. The waxy texture of the comb combined with the liquid gold of the honey creates a sensory experience that standard jars simply can't match. To help you plan your next event, refer to the table below for my favorite honey and cheese pairings for charcuterie.
| Cheese Type | Recommended Honey | Flavor Profile |
|---|---|---|
| Soft/Creamy (Brie, Camembert) | Acacia or Orange Blossom | Light, citrusy, and floral |
| Hard/Nutty (Manchego, Gruyère) | Chestnut or Wildflower | Earthy, rich, and moderately sweet |
| Pungent/Blue (Stilton, Roquefort) | Buckwheat or Blueberry | Dark, malty, and deep |
| Fresh (Ricotta, Chevre) | Lavender or Clover | Herbaceous and cleanly sweet |
6. The Crunch Factor: Preventing Soggy Crackers
One of the most common complaints I hear from home hosts is the "soggy cracker" dilemma. This happens when high-moisture items like sliced melons, wet cheeses, or washed grapes come into direct contact with your starches. If you're wondering how to prevent soggy crackers on charcuterie boards, the answer lies in physical barriers. Use parchment paper or small decorative cupcake liners to create a dry zone for your crackers. Alternatively, you can serve your bread and crackers in a separate basket or bowl entirely, which also frees up more space on the main board for meats and cheeses.
Another expert tip is the "last-minute add" rule. Never put your crackers on the board until five minutes before you serve. Even the humidity in the air can start to soften a delicate water cracker over time. If you want a more durable option, look for sturdy, homemade alternatives like baked grain tortilla wedges or thick sourdough crisps. These have a lower moisture absorption rate and can stay crunchy for much longer than standard store-bought crackers. By strategically managing your texture contrast, you ensure that every bite has that satisfying snap.
7. Safety First: The Two-Hour Rule
As much as we love the look of a board that sits out all evening, food safety is paramount. The National Restaurant Association has identified charcuterie as a top-three menu trend, but part of that professional standard involves strict charcuterie board food safety time limits. Perishable items like soft cheeses and cured meats should not be left at room temperature for more than 2 hours. If you are hosting an outdoor event on a warm day (above 90°F), that window shrinks to just 90 minutes.
To save yourself stress on the day of the party, you can prep almost everything 24 hours in advance. Slice your meats, portion your cheeses, and fill your ramekins, then store them in airtight containers in the fridge. On the day of the event, all you have to do is assemble. By prepping ahead, you can spend less time in the kitchen and more time enjoying the company of your guests. When the 2-hour mark hits, simply replenish the board with fresh, chilled items from your prepped stash to keep the party going safely.
FAQ
How much meat and cheese per person for a charcuterie board?
For a standard appetizer or snack-style board, aim for 2 to 3 ounces of combined meat and cheese per person. If the board is intended to be the main meal, increase this to 4 to 8 ounces per person. Always supplement with plenty of "fillers" like nuts, fruits, and crackers to ensure everyone leaves satisfied.
How far in advance can I assemble a charcuterie board?
You can prep the components up to 24 hours in advance. However, for the best quality, assemble the board no more than 1 hour before serving. Keep it covered in the refrigerator and pull it out 20 to 30 minutes before guests arrive to let the cheese temper. Always add crackers and nuts at the very last minute to prevent them from becoming stale or soggy.
What is the rule of thumb for charcuterie boards?
The most reliable rule of thumb is the Rule of Threes: choose 3 cheeses, 3 meats, and 3 accompaniments. This ensures enough variety to keep the palate interested without overwhelming the host or the board's visual space. Additionally, strive for a balance of textures—something crunchy, something creamy, something salty, and something sweet.
How do you keep fruit from making the board soggy?
To protect your crackers and bread, ensure that all fruit is thoroughly dried after washing. For high-moisture fruits like berries or sliced melon, place them in small ramekins or use a physical barrier like a large lettuce leaf or a piece of parchment paper. This prevents the juices from migrating across the board.
How do you make a charcuterie board look professional?
The key to a professional look is "abundance." Fill every single gap on the board so that no part of the wood or slate is showing. Use small items like blueberries, almonds, or pumpkin seeds to plug the holes between larger items. Incorporate different heights by folding meats into ribbons and using ramekins of varying sizes. Finally, add a touch of greenery or edible flowers for a fresh, polished finish.
The beauty of a charcuterie board lies in its versatility. Whether you are hosting a formal holiday gathering or just looking for a relaxed Friday night dinner, these expert tips will help you create a spread that is as nutritious and safe as it is beautiful. I would love to see your creations! Share your board styling successes with us and let’s continue to celebrate the art of the graze.