Quick Facts
- Prep Time: 15 minutes
- Cook Time: Approximately 15 minutes per pound at 425°F
- Target Temperature: 165°F (Breast) and 170°F–175°F (Thigh)
- Essential Gear: Cast iron skillet or a high-quality Dutch oven
- Vegetable Cut: 1-inch cubes for uniform caramelization and cooking
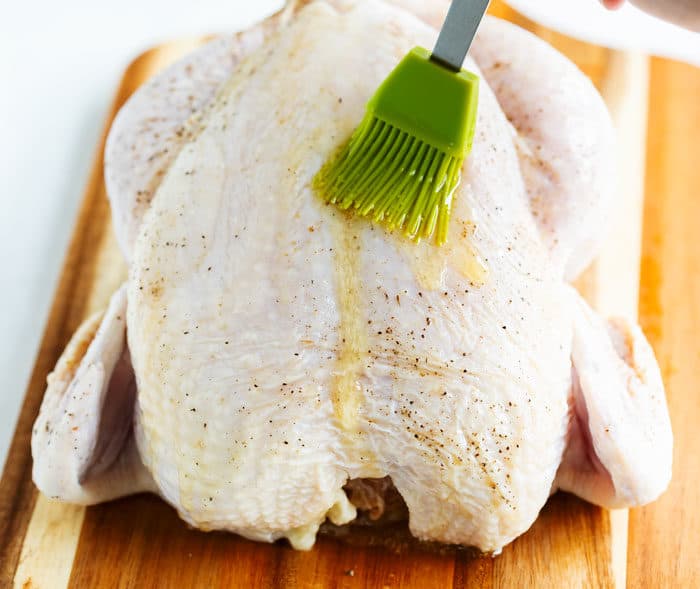
- The Secret: Pat the bird completely dry and use compound butter under the skin
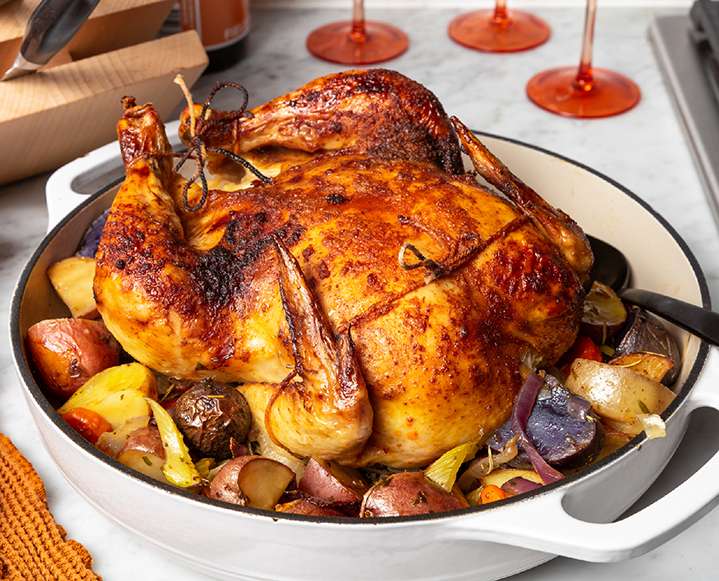
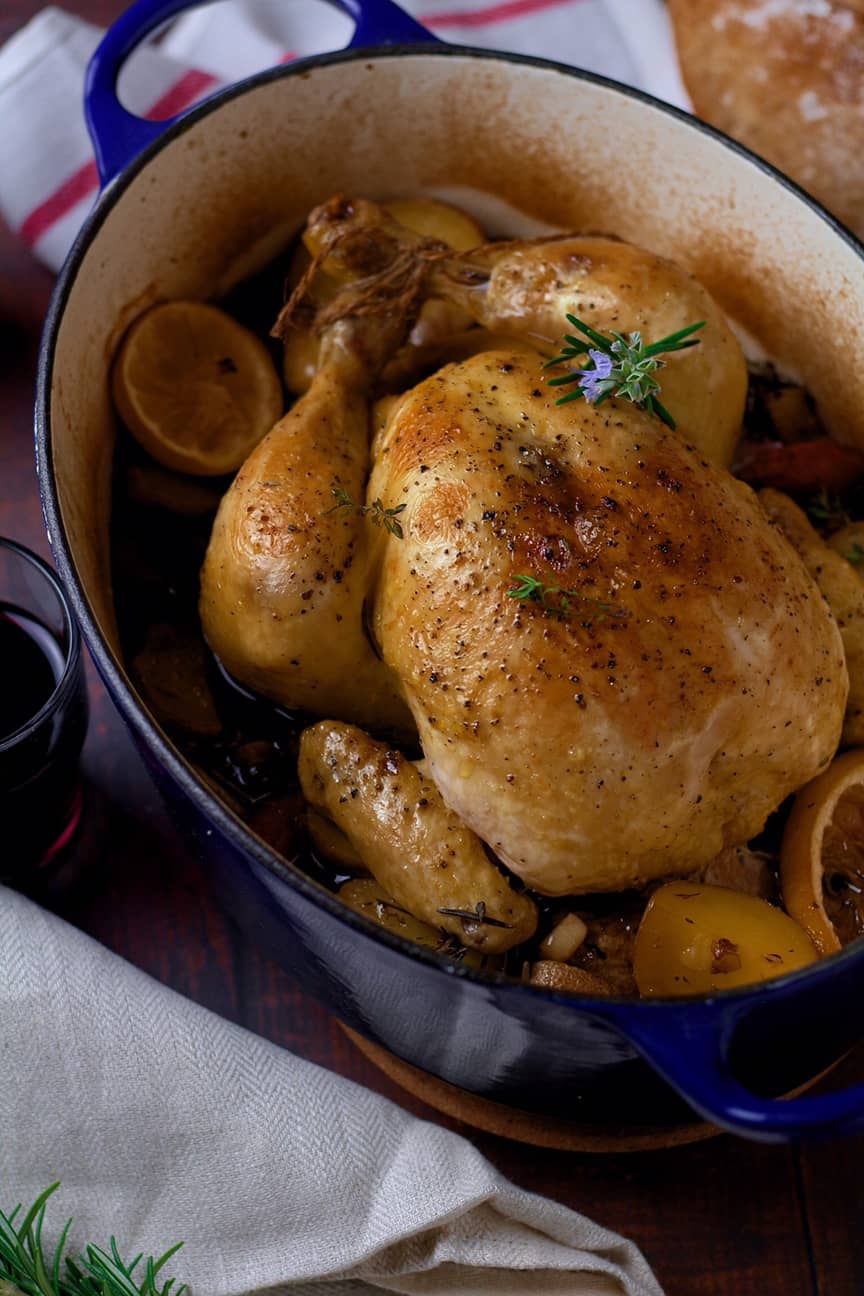
To achieve the best one-pot roast chicken for your holiday gathering, you must prioritize moisture control and heat distribution. Start by patting the bird completely dry with paper towels to ensure the skin crisps rather than steams, then roast at a high temperature of 425°F in a heavy skillet or Dutch oven. This method creates a self-contained ecosystem where the chicken stays succulent while a bed of root vegetables caramelizes in the savory pan drippings below.
The landscape of the holiday table is shifting. While turkey has long held the crown, recent data suggests a growing preference for more manageable, nutrient-dense poultry options. Analysis from the grocery insight charity IGD indicates that the percentage of UK shoppers serving chicken for their main Christmas meal is expected to rise to 25% by 2025, a significant jump from 16% in 2019. This trend is echoed in American households as well; a study by researchers at Purdue University found that chicken was served by a higher proportion of households than turkey for almost all winter holiday meals outside of Christmas Day itself.
As an editor focusing on nutrition science, I advocate for this shift not just for the flavor, but for the efficiency. According to industry forecasts from Home Chef, consumer demand for ultra-convenient cooking routines is rising as home cooks prioritize low-effort meal solutions that don’t sacrifice quality. A one-pot roast chicken is the epitome of this philosophy.
The Secret to Crispy Skin and Juicy Meat
The biggest challenge with one-pot cooking is preventing the chicken from sitting in a pool of its own moisture, which leads to rubbery skin. To understand how to get crispy skin on one-pot roast chicken, we have to look at the chemistry of the Maillard reaction. This chemical reaction between amino acids and reducing sugars gives browned food its distinctive flavor. It requires high heat and, crucially, a dry surface.
Before you even think about roast chicken seasoning tips, you must perform a thorough whole bird preparation. Remove the chicken from its packaging and pat it dry inside and out with paper towels. Many home cooks make the mistake of rinsing the bird; however, food safety experts warn against this as it splashes bacteria around the kitchen and adds unnecessary moisture.
For a truly juicy skillet roasted chicken, I recommend using a compound butter. Mix softened unsalted butter with salt, pepper, and finely minced herbs. Carefully loosen the skin over the breast and thighs and slide the butter underneath. This places the fat directly against the meat, acting as an internal baster that keeps the white meat from drying out while the skin crisps from the outside.
There is a technical distinction between roasting and baking that is vital for holiday success. Baking usually occurs at lower temperatures (325°F–375°F), which is ideal for breads. Roasting requires higher temperatures, specifically around 425°F, to trigger the Maillard reaction quickly. This ensures the skin becomes golden and crisp before the internal meat becomes overcooked.
Building the One-Pan Foundation: Vegetables and Aromatics
The genius of one pan chicken and vegetables lies in the "roasting bed." Instead of using a wire rack, we use nutrient-dense root vegetables to elevate the bird. This prevents the bottom of the chicken from boiling in its juices and allows the vegetables to absorb the rich poultry seasoning and fat.
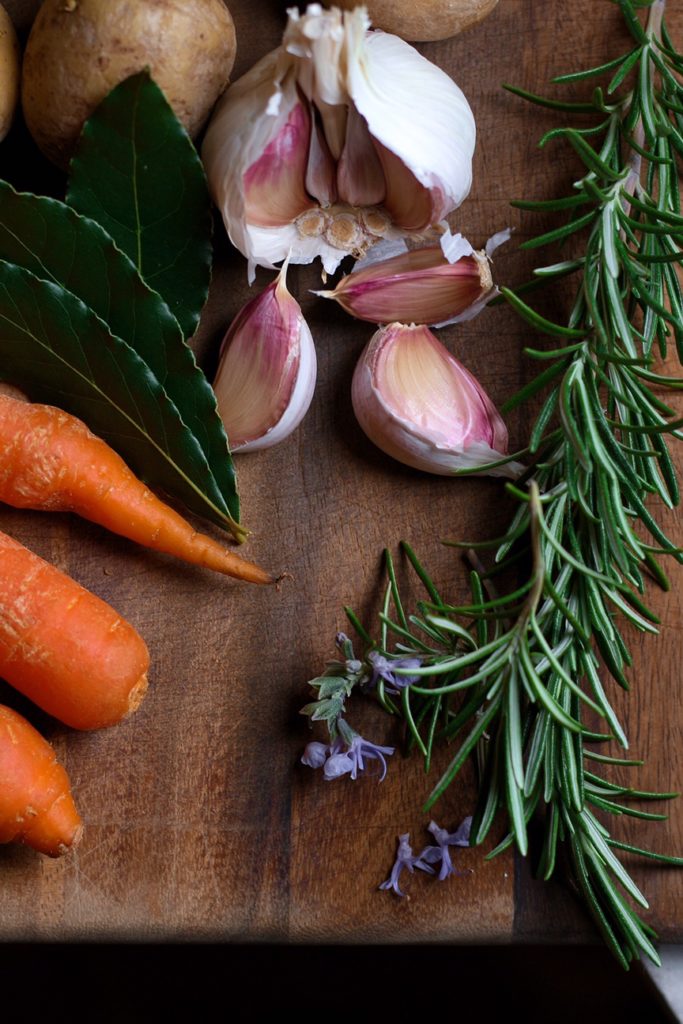
For the best results, cut your vegetables into uniform 1-inch cubes. If the pieces are too small, they will turn to mush before the chicken is done; if they are too large, they will remain raw in the center. I suggest a mix of Yukon Gold potatoes, carrots, and parsnips for a classic holiday profile.
| Component | Holiday Recommendation | Nutritional Benefit |
|---|---|---|
| Root Vegetable | Yukon Gold Potatoes | High in potassium and vitamin C |
| Secondary Veg | Carrots or Parsnips | Rich in beta-carotene and fiber |
| Aromatics | Red Onion & Garlic | Contain sulfur compounds for heart health |
| Fresh Herbs | Rosemary, Thyme, Sage | High in antioxidants and antimicrobial properties |
| Acid/Color | Balsamic Vinegar | Adds depth and helps with caramelization |
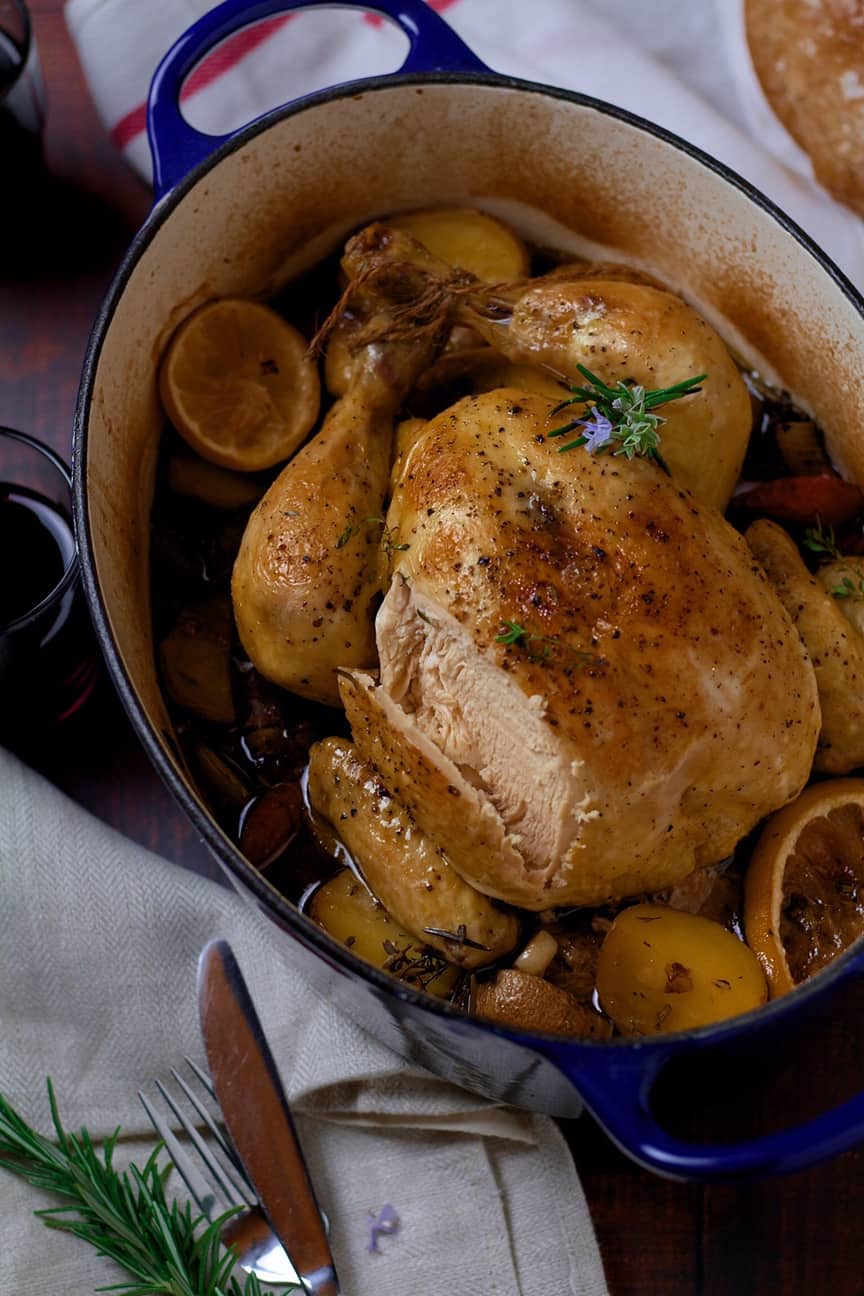
When choosing the best herbs for seasoning holiday roast chicken, fresh is always superior to dried. Fresh aromatics like rosemary and thyme sprigs should be tossed with the vegetables and stuffed into the cavity of the bird. The heat of the oven releases the essential oils from these herbs, perfuming the entire dish from the inside out.
The Staggered Roasting Process
Execution is everything when you are working with a cast iron skillet roast chicken with root vegetables. Follow this timeline to ensure every component reaches its peak texture at the same moment.
- Preparation: Preheat your oven to 425°F. Place your seasoned, cubed vegetables in the bottom of a large Dutch oven or skillet. Drizzle with olive oil and a splash of balsamic vinegar.
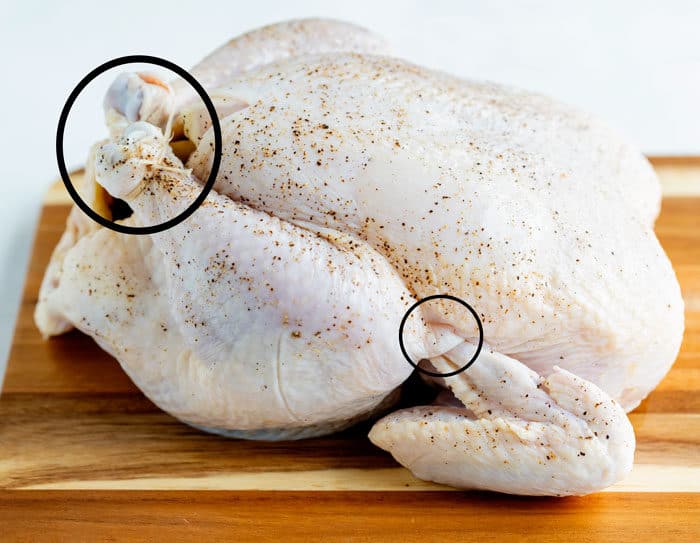
- Trussing: Use kitchen twine to perform a basic trussing technique. By tying the legs together and tucking the wings under the body, you create a compact shape that cooks more evenly and prevents the delicate wing tips from burning.
- Positioning: Place the bird directly on top of the vegetable bed. Ensure it is centered so heat can circulate around all sides.
- The Roast: Slide the pot into the oven. A general rule of thumb is 15 minutes of roasting time per pound of meat.
- The Midway Check: About 30 minutes in, carefully stir the vegetables around the edges of the bird to ensure they are being coated in the emerging pan drippings.
Monitoring Doneness: The Internal Temperature Guide
Visual cues like "clear juices" or "golden skin" are unreliable and can be dangerous. As a nutrition professional, I insist on using a meat thermometer to ensure food safety and optimal texture.
The internal temperature guide for whole roast chicken involves two distinct targets. Because white meat and dark meat consist of different muscle types, they reach peak palatability at different temperatures. You want the breast meat to reach 165°F (74°C). If you go higher, the lean protein fibers will contract and squeeze out all the moisture, resulting in dry meat.
Conversely, the thighs and legs contain more connective tissue (collagen), which requires more heat to break down into silky gelatin. The thighs should reach between 170°F and 175°F (77°–80°C). When checking the temperature, insert the probe into the thickest part of the thigh, making sure not to hit the bone, as the bone conducts heat differently and will give a false reading.
The Finish: Resting and Pan Dripping Gravy
Once the bird reaches the target temperature, remove it from the oven immediately. Now comes the most difficult part of the recipe: the wait. You must allow the chicken to rest for at least 20 minutes before carving. During the roasting process, the heat causes the juices to migrate toward the center of the bird. If you cut into it immediately, those juices will run out onto the cutting board, leaving the meat parched. Resting allows the fibers to relax and the juices to redistribute properly.
Crucially, do not tent the chicken tightly with foil during this time. While you want to keep it warm, a tight foil seal traps steam, which will instantly soften that hard-earned crispy skin. Instead, leave it uncovered or drape a piece of foil very loosely over the top.
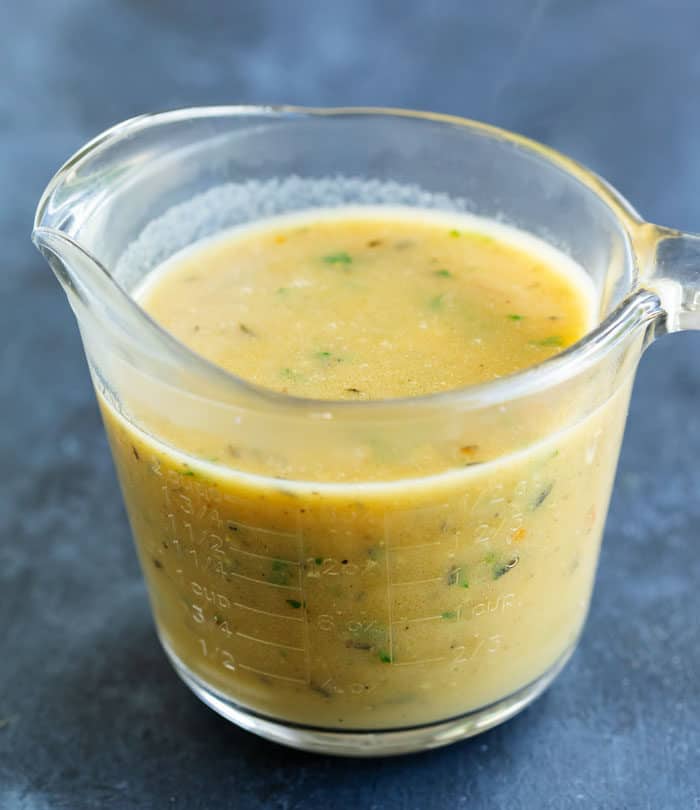
While the bird rests, utilize the gold mine at the bottom of your pot. The pan drippings—a mixture of rendered chicken fat and concentrated vegetable juices—are the base for the world's best gravy. You can create a quick roux by whisking together 3 tablespoons of melted butter and 3 tablespoons of flour in a small saucepan, then slowly adding the strained pan drippings and a bit of chicken stock until thickened.
Post-Holiday Utility: Stock and Storage
One of the nutritional advantages of a whole bird is the secondary meal potential. Once the meat has been enjoyed, the leftover carcass becomes the most important ingredient for the next day. Using chicken bones for homemade broth is a fantastic way to extract minerals and collagen that support gut health and joint function.
Simply place the carcass in your pot, cover with water, add a few celery stalks and peppercorns, and simmer for several hours. This nutrient-dense liquid can be frozen for up to six months.
For any leftover meat, follow standard food safety protocols. Chicken should be refrigerated within two hours of cooking and consumed within 3 to 4 days. When reheating, I recommend the damp paper towel method: place a damp paper towel over the chicken in the microwave or oven to create a small steam chamber, which prevents the meat from becoming stringy and dry.
FAQ
How do I keep chicken skin crispy in a one-pot meal?
The key is to minimize steam. Start by patting the chicken completely dry with paper towels. Elevate the bird on a bed of hardy root vegetables so it doesn't sit in its own juices. Most importantly, roast at a high temperature like 425°F and do not cover the pot with a lid or tight foil during the cooking or resting process.
What is the best temperature for one-pot roast chicken?
I recommend roasting at 425°F (218°C). This high heat is necessary to achieve the Maillard reaction for crispy skin while ensuring the vegetables underneath caramelize properly. Lower temperatures often result in "baked" chicken, which can have pale, soft skin.
Can I roast a whole chicken and vegetables at the same time?
Yes, and it is actually preferred. The vegetables act as a natural roasting rack, and as the chicken cooks, its fat renders down to season and crisp the vegetables. Just ensure you cut root vegetables into 1-inch pieces so they finish cooking at the same time as the bird.
What size Dutch oven is best for roasting a whole chicken?
A 5-quart to 7-quart Dutch oven is typically ideal for a standard 4-pound to 5-pound chicken. You want enough room for the vegetables to sit in a single layer around the bird without being so crowded that they begin to steam rather than roast.
How long does it take to cook a whole chicken in one pot?
At 425°F, it generally takes about 15 minutes per pound. A 4-pound chicken will usually take between 60 and 75 minutes. However, you should always rely on a meat thermometer rather than a timer, aiming for an internal temperature of 165°F in the breast.